what we've done during week 4
tutorial:
we started with sketching basic geometric shapes - lines, circles, curves etc
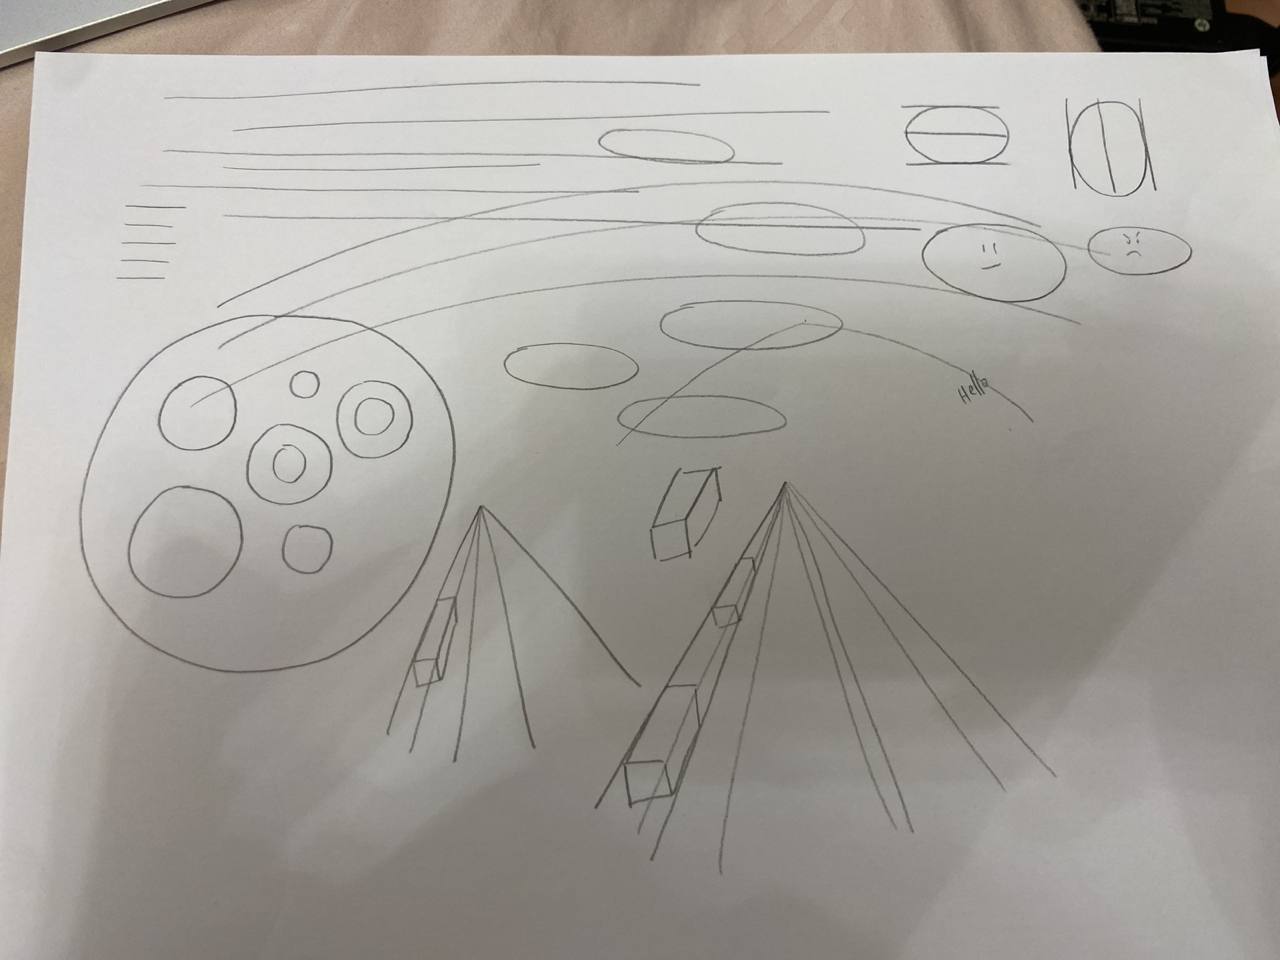
followed by one point perspective drawing.. which means that the drawing has a single vanishing point, and all the lines are parallel to each other
we've also learnt 2-point perspective drawing (no pic cos idk how draw YET)
two point perspective drawing is harder because it involves two vanishing point, which require more precision and the need to understand how to place and use the 2 points correctly

this is my first time drawing a proper one point perspective drawing after the lesson, it does not look toooo good 😭😭
although im not good at it, but it actually helps me to be more creative, and make the artwork more realistic and visually pleasing compared to what ive drawn when i was younger..
there are more examples of 1 and 2 points perspective drawing:
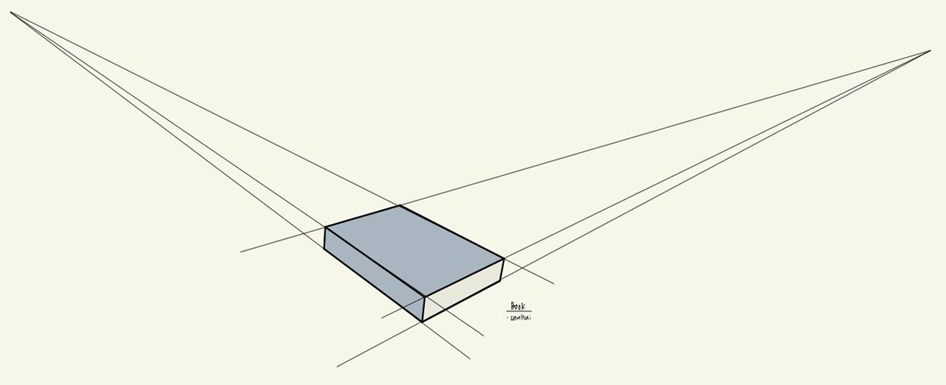 two points perspective drawing
 one point perspective drawing
aft these, we continued with fusion360, we've learnt how to change dimensions, offset, create mirror etc while building a photo frame..
i was lost most of the time, but thankfully lecturer and friends are patient haha
through that, i realised in order to master fusion360, i need to watch youtube videos and practice more so that i can do better when using fusion360 the next time
this series (by Product Design Online) is gonna be helpful for me although ive only watched the first few minutes of it. not only it does teaches people the usage of different tools but also provided a step-by-step explanation. best thing about online videos is that, i can actually pause the video whenever im lost!
the diagram below shows the finalised version of my photoframe
another example (my nametag) is attached below was done during my free time
practical 1:
after brewing coffee, we are tasked to dismantle the BD100® to take a look of how the inside is about. the difficult part is to dismantle the bottom of it bcos the screws' grip arent as strong as before..

No comments:
Post a Comment